
Before I attended the Artiscape Artists Retreat last month, I made several mini gelli printed journals to trade with other artists at the retreat and thought that I would share the process with you.
First, create the pages of your journal by making lots of prints on your gelatin plate. Be sure to make prints on both sides of the paper or if you print on one side, you can glue two pieces with wrong sides together. I used just regular office copy paper.
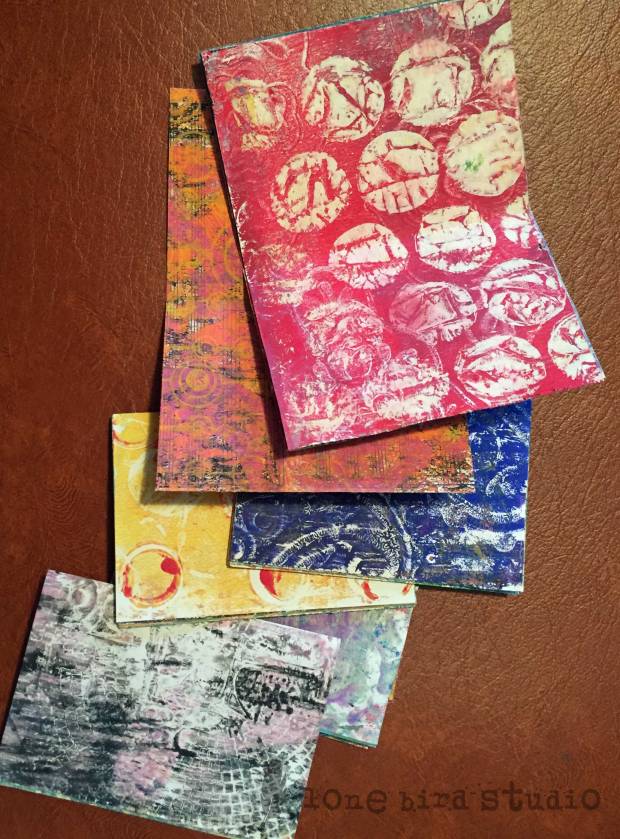
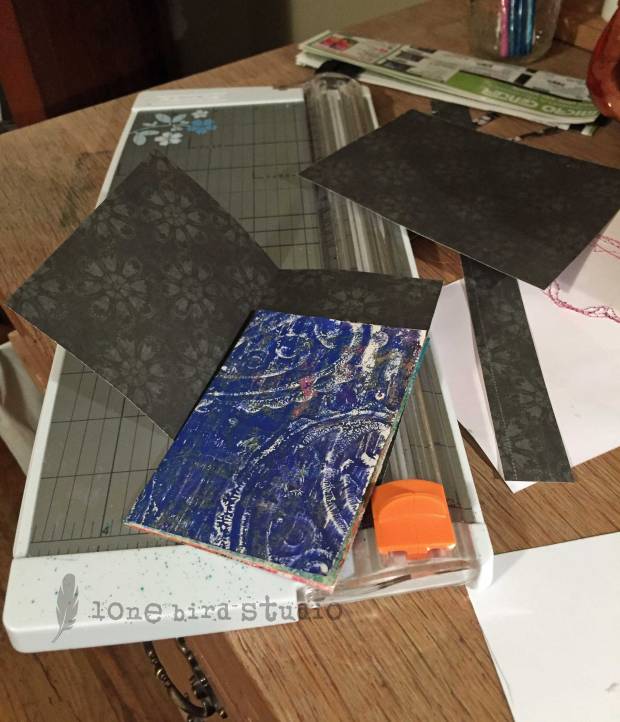
Choose your cover papers (I used 98lb. Mixed Media Paper) and cut to the size of your journal. Also cut your printed papers but cut them slightly smaller than your journal cover. Also choose a one sided gelatin print or patterned paper for the inside covers of your journal and cut the same size as the journal cover.
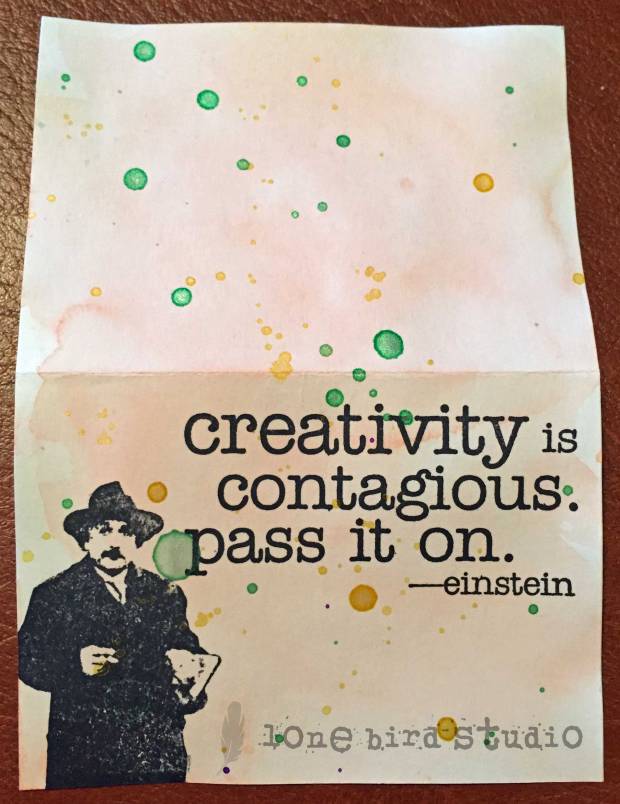
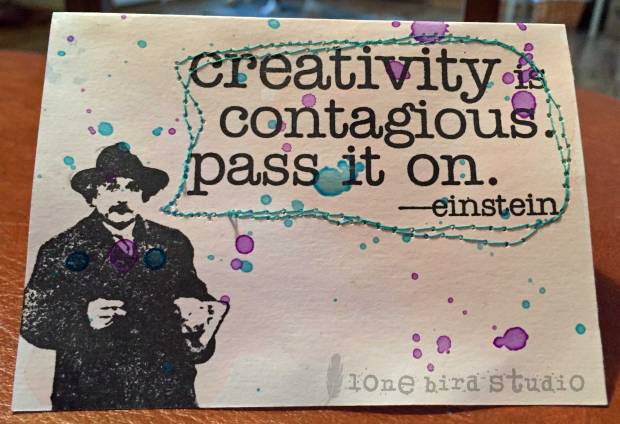
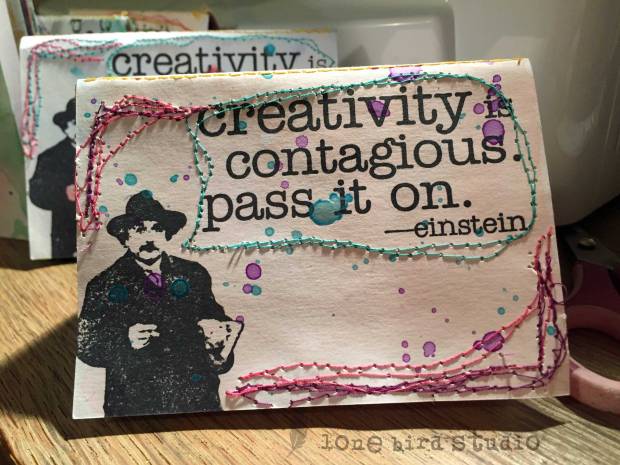
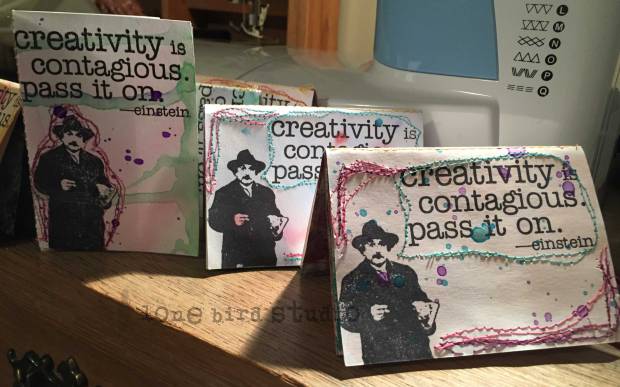
Decorate your outside covers. I chose to use watercolors and stamps to decorate my covers. I then embellished them further and added stitching with my sewing machine.
Next, I folded the covers, printed pages and inside covers in half and used a bone folder to crease them really well. Then I laid the papers down in this order: Cover (face down), Inside cover paper (face up), then the printed pages one on top of the other.
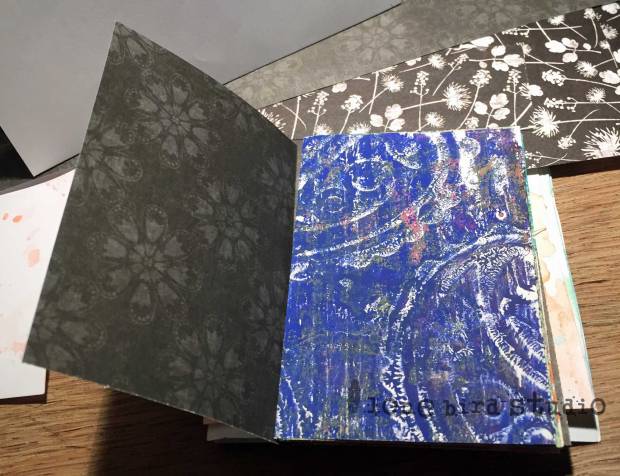
Once I had them placed together so that that inside papers were not hanging over the edges of the cover and inside cover pages, I placed them on the sewing machine and stitched all of the papers together down the middle. Glue down the inside cover papers to the inside of the covers and there you have it. Easy gelli printed journals.
I hope you give this fun project a try. Do you have any fun projects that you love to do with your gelatin prints? I would love to hear about it!

Wow! You need to stop doing this to me! Workshop??? We could each bring our own gelli plates to make the process faster.
That may be a possibility Maggy 😉